
We can finally say our kitchen is now complete! From its original state to now, there is no comparison! We completely removed every single item in the kitchen and even removed two walls, opening the kitchen up to the living room so we could add in more cupboard space. This was no easy task but thanks to family and friends in the trade, we were able to finish this kitchen and other projects in our home in record time.
From 1979, this kitchen had seen no love so it needed quite a bit of updating. I’m not just talking about new cupboards and appliances (that was the easy part) we had to rewire the lighting and install a gas line. Also, removing two walls and the bulkheads were concerning considering they could be loadbearing walls. Luckily for us, we were able to do exactly what we planned, creating an open space as well as additional storage and countertop space for cooking and entertaining.
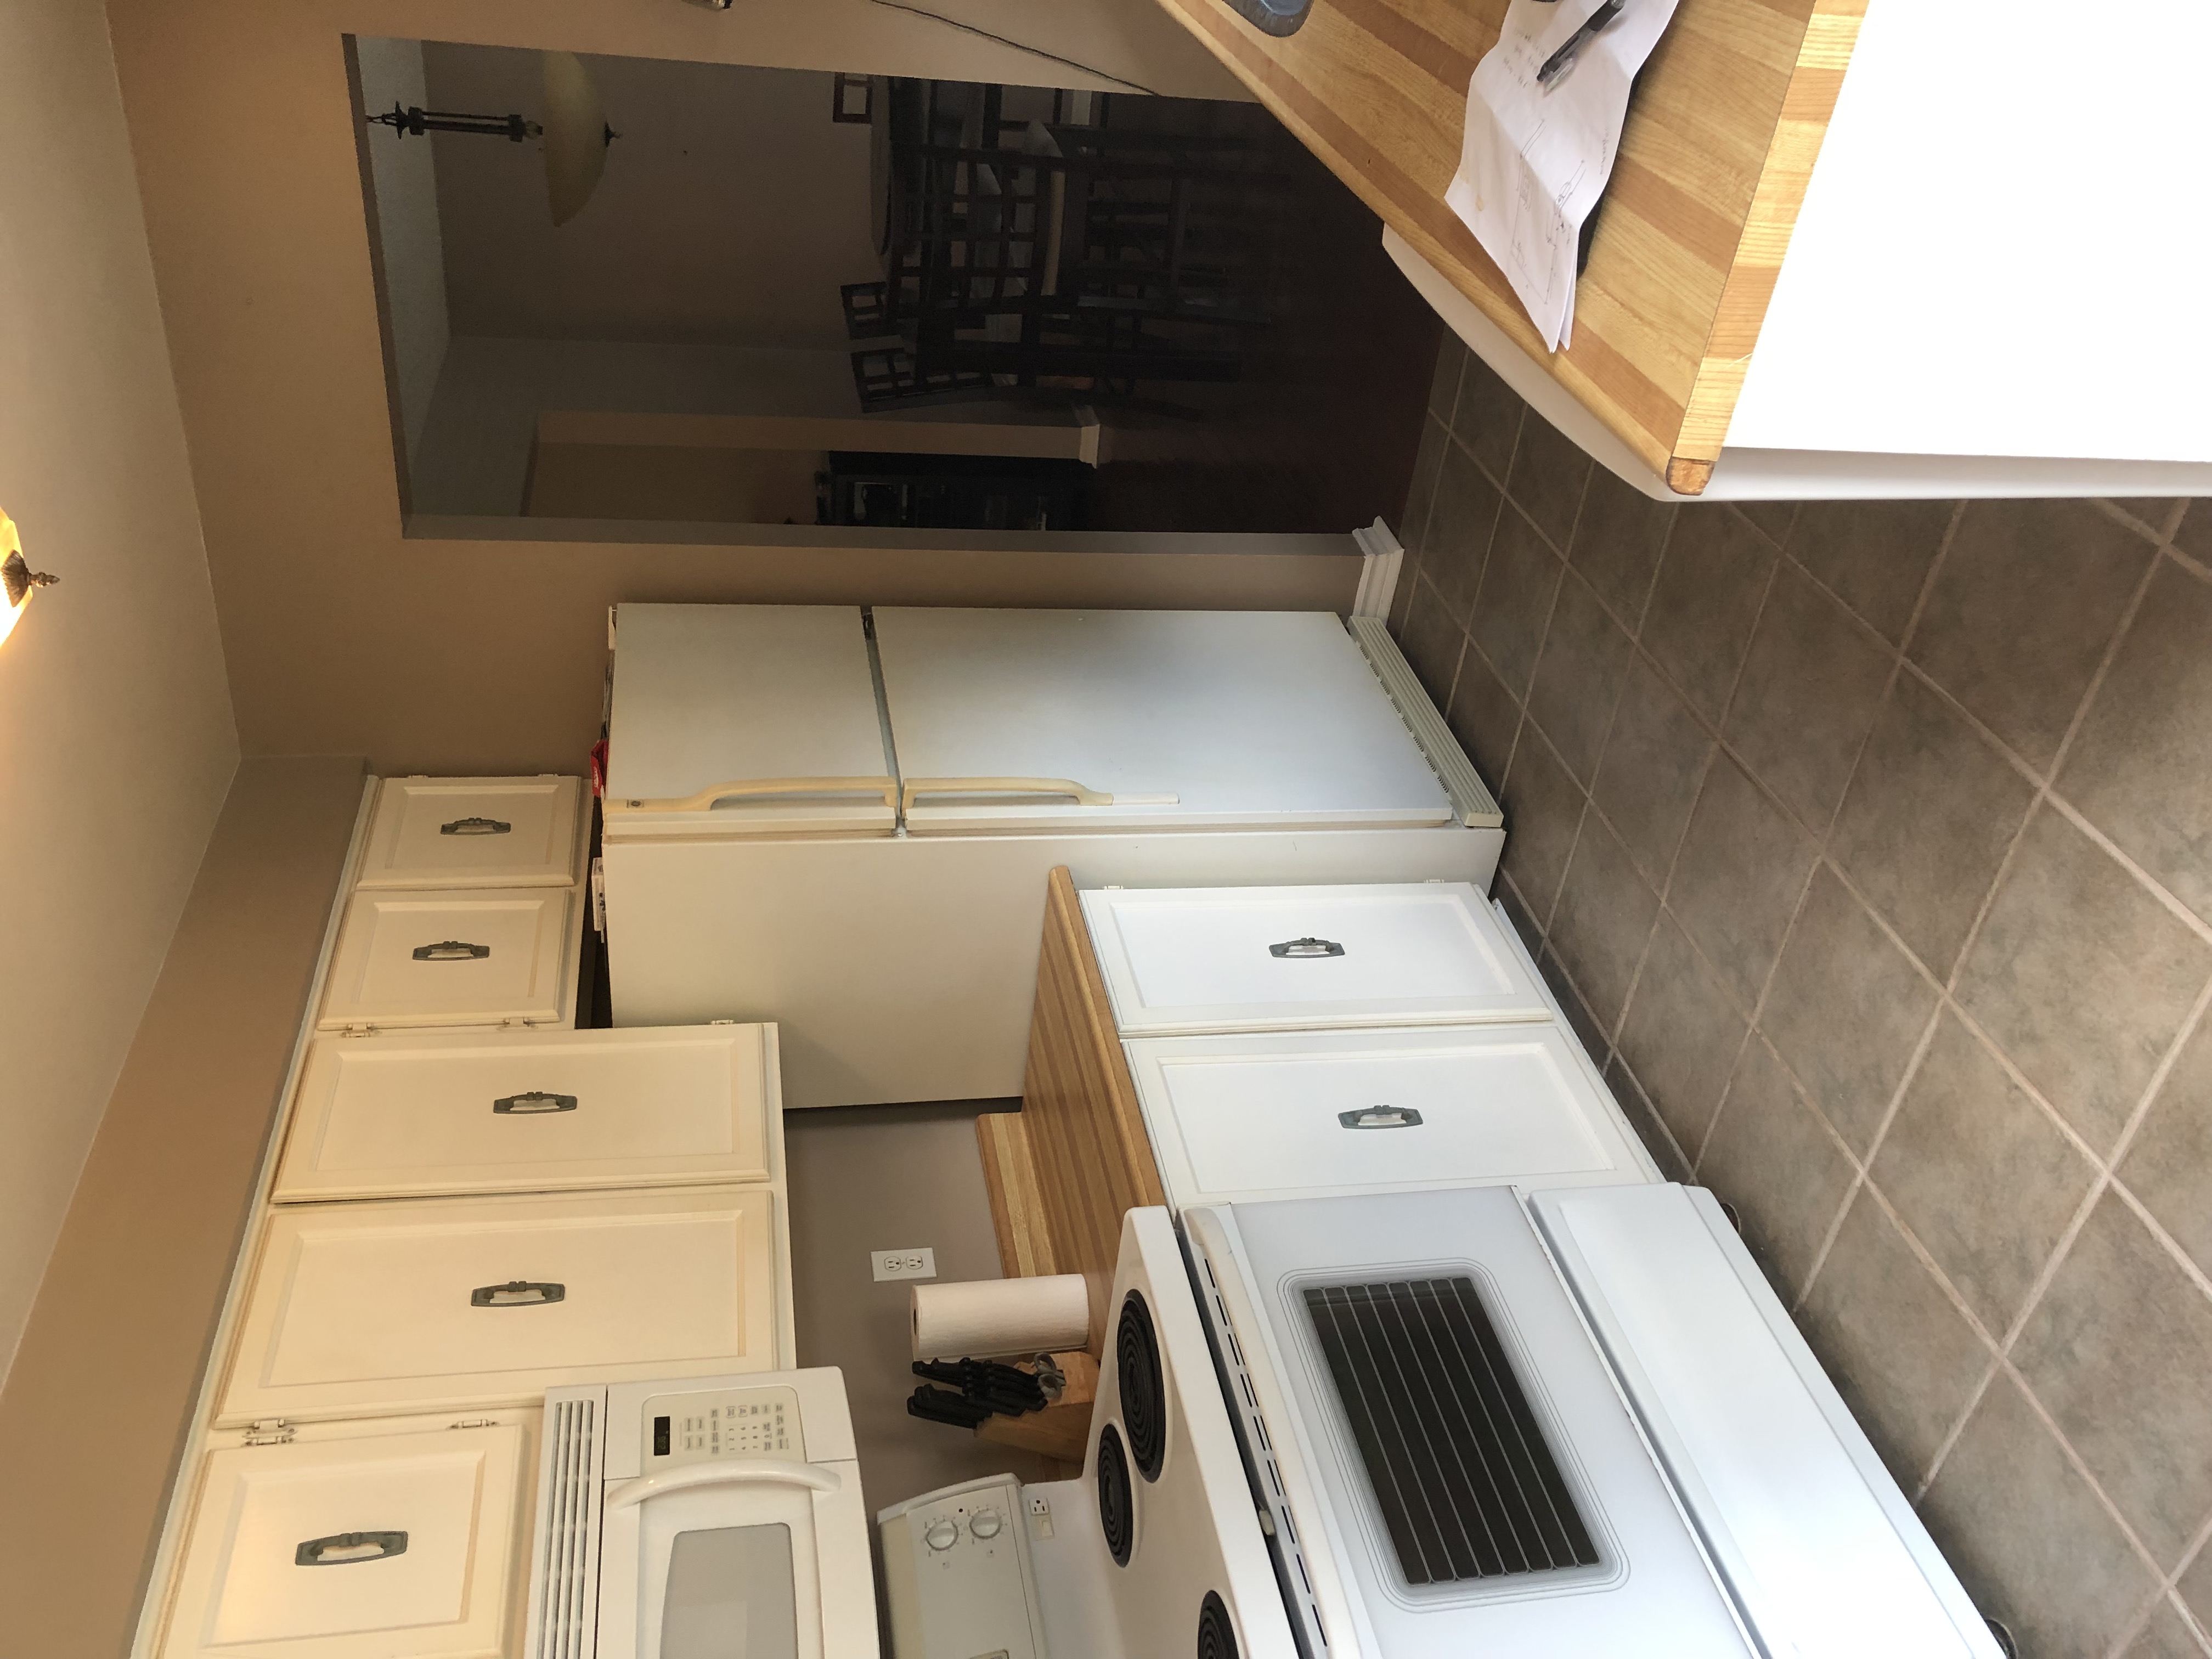
Before


So that our renovations didn’t overwhelm us, we chose to break each task down in chunks and tackle them by order of priority. Review our following steps and read through our kitchen’s transformation journey.
Gutting the kitchen
This was a one week process of removing all cupboards, appliances, sink, and tile. I have to say, the tile was the hardest to remove because it was cemented to the floor and continued from our kitchen to the front door. This took several hands to help us with the task and at times we did put holes through the subfloor – definitely not our most favourite part of the renovation process.
We called Habitat for Humanity to take away our appliances and recycled the rest of the cupboards (we received a tax credit of over $300 – I highly recommend using them)
After everything was gutted, we removed the two walls leading into the dining room. This really opened the kitchen and created more light in the home. We also were able to remove the bulkheads so we could extend the top kitchen cupboards to the ceiling.
Working from a blank slate, we re-wired some of our electrical to ensure it was up-to-code and more convenient for us to use – adding in more electrical outlets for cooking and appliances.
Kitchen & Appliance Install
For the cupboards, we decided to go with the AXSTAD cabinets from IKEA. They were so reasonable and have a great warranty guarantee. A huge plus, we had a lot of experience from our previous kitchen renovation in our condo with IKEA. It worked out so well for us the first time, we thought why not use them again! We triple measured everything and picked up the pieces. As some of us began to build the cupboards, others were installing the brackets for hanging the cupboards. Within a week, the cupboards were installed.
After the bones of the kitchen were in, we moved our Kitchen Aid appliances in and set everything up. We hired someone to hook up our gas range and everything was up and running within a day.
The fronts of the cupboards were installed and we were ready to start filling our cupboards with our items.
The hardware we chose was exactly from our previous condo. We loved them so much because of the quality, price and the style – we really couldn’t find anything else that compared! The hardware we chose was from Amazon – Amerock Bar Pulls (Champagne Gold)


Sink Install & Faucet
Since we chose a sink on the “larger side”, this 600-lb sink needed two people to install and Kevin had to build a wooden stand to hold the sink up from underneath. Note: with drop-down apron sinks, we lost the bottom cupboard so our cleaning supplies and other items we use to keep under our sink had to move somewhere else (in my opinion, a small inconvenience for a sink we absolutely love). We decided to go with a Fibre Glass sink from Wayfair instead of Porcelain. After doing some research, porcelain chips and stains easily, making it difficult to clean and maintain. Fibre Glass is much more durable and so far, we’ve had no issues with stains.
After Kevin installed our Trinsic faucet from Delta Faucet Canada® we had a working sink and almost a complete kitchen! A few finishing touches like paint, trim and shelving inside our pantry needed to be complete but we were ready to move in since all of our essentials were up and running.

Backsplash and Countertops
The countertops were a repeat offender from our condo. We just loved the quartz from our last place and decided it would be a great addition to our new kitchen. Durable and easy to clean, quartz is definitely a great choice for those who want the marble-look without breaking the bank.
The backsplash was from our good friends at Sarana Tile, we also chose our flooring for the house and our powder room tile too from them. They have so many beautiful choices so it was only natural that we chose them to help us pick out our backsplash. Going in, I had no idea what I wanted. I knew I needed something more unique since our kitchen was so white but didn’t want to choose a tile so trendy that we would be sick of it in a year. We chose the Domolite Picket-Style Marble and I couldn’t be happier. Install was a little tricky but we hired an amazing tile specialist that was more than up for the challenge and within a few days, he had completed the job and very well I might add. Our grout choice was a light grey to match some of the grey marble in our quartz and in the tile. Every day, when I see it, I fall in love with it more and more – it just added something special to our kitchen that was lacking before.

Finishing Touches
The decor choices I wanted for the kitchen were bright, airy and simple. After all, when we moved into this house it was dark, stingy and stinky so bright, light and airy was what this home really needed to shine through. We did have a fixed budget for this entire kitchen so when it came to our decor choices, I didn’t think it was necessary to spend too much since tastes change over time. I chose simple pieces at reasonable prices that would be easy to swap year-round.


Here are a few of the decor items I chose pictured above:
- Build-in floating shelves (White Stained Oak) from IKEA Canada (CAD $25 ea)
- Flush mount lights from Wayfair (USD $65.99)
- Runner from RugsUSA (USD $38)
- Tea Towels from IKEA Canada (CAD $4)
- Jars, books and candles from HomeSense (CAD $75)
The Final Result
I could not be any happier with how our kitchen turned out. It’s warm, welcoming and has really made this house feel like home. We spend so much time in this space so making it beautiful and functional was so important to us (well, mostly me). We also learned that we didn’t need to spend a fortune on a new kitchen, we just needed to be resourceful. For example, some of the items we purchased were from the U.S. because of current sales (yes, even with the exchange rate, we saved) that really couldn’t be beaten. After this second time of renovating our kitchen, we did learn there are some things you should never cheap out on. For example, flooring, your gas hookups, countertops, appliances and faucets. These were some major tasks that we knew required professionals and didn’t have the experience or confidence to do it ourselves. We did, however, research and called around for competitive pricing, negotiated and waited for sales so we could remain close to our set budget.


Of course, there’s no way around it, kitchen renovations are always stressful and take a lot of time. We did face a few challenges along the way. The tile removal, the very unsafe electrical, the uneven walls and the funky smells – these were all obstacles that proved to be challenging for the both of us. I believe what helped us get through was the support from our family and friends. Someone was always there helping us or looking after Knox while we were working on the home and to that, we are very grateful (we definitely owe a lot of people some dinners)! What we did take away from all of this was you can’t rush certain jobs because the margin for error becomes greater. We both learned (and mostly me) patience and a job well done doesn’t necessarily mean rushed but just done once.
If you want to see more fun renovations, check out Our IKEA Kitchen Renovation post – we did it all in under 1 month, with a tight budget and while I was 8 months pregnant!


Lisa Smith
November 6, 2019 at 9:44 amBeautiful end result. Love all the little details.